At Maestro, we’ve found that we can give our eLearning courses just the right amount of love when we have instructional designers who focus on the content and interactive designers who focus on the design. And when they get together, the experience is magical. You can see exactly what we mean when you download our go-to tool: The Ultimate eLearning Storyboard Template.
How do our designers collaborate? Many times, it’s through a storyboard. But that isn’t the only reason we use storyboards in our development process. In fact, you don’t need to be collaborating to reap the benefits of a well-designed storyboard. At the very least, a great storyboard will give you the structure and organization to write the content your learners need to know while allowing space to start thinking through the visual design of your course. And there are a ton of other benefits, too.
Maybe the idea of using a storyboard in your instructional design process is new to you. Maybe you have a storyboard format that you already use and love. Well, at Maestro, we’ve thought a lot about our eLearning storyboard template, and we’ve distilled that thinking into a simple, yet highly usable, document that’s been tried and tested in hundreds of learning projects we’ve worked on. Read on to learn more about why and how we use it—and to snag our free storyboard template for yourself.
What’s an eLearning storyboard?
What comes to mind when you think of the word “storyboard?” If you don’t use one for your learning and development work, your thoughts might turn to Hollywood, where animators sketch out preliminary scenes in big, blank rectangles and make notes about the actions on screen.
Well, an eLearning storyboard isn’t all that different. But rather than explain just the visual movement that will happen on screen, a storyboard can also include information about voiceover, interactions, and more. And when all that information is laid out in a way that’s easy to follow, course development is just so much easier.
Why you should be using a storyboard
It should already be pretty clear why we’re a fan of storyboards, but to get a little more specific: we use storyboards to document on-screen text, voiceover, and visual direction, as well as any other helpful notes that might be worth capturing during the content-writing phase of development. For us, storyboards are like the blueprint to a house—we want to make sure everything is laid out before we start building.
Using one makes collaboration easier because we can be on the same page (literally) about the decisions we’re making as we sculpt our instructional content. And we’re not talking about just our instructional designers and our developers. We mean all the stakeholders involved with the project, including SMEs, project managers, project leads, regulatory panels, and whoever else might need to approve a course before it goes out into the world. Better to get that feedback sooner rather than later, especially once we start authoring our course.
So, we know we want to use a storyboard in our process. But what does that storyboard look like?
The three qualities of a great storyboard
We’ve found that a great storyboard format has three qualities: it’s simple, it’s scannable, and it’s adaptable.
Simplicity
It can be really tempting to throw anything and everything into a storyboard. The more information, the better. For the sake of transparency, right?
Well, maybe not. Consider this instead: what is the bare minimum amount of information you need to convey to prepare yourself or others to develop the course?
The principle of least effort tells us that, when given the option, people will choose the path of least resistance. This can apply to both you and anyone else with a stake in the storyboard. Help your stakeholders by removing the unnecessary and making the review process more streamlined.
This isn’t the only argument for simplicity. Richard Meyer, known for his Principles of Multimedia Design, supposes in the Coherence Principle that people learn better when extraneous words, pictures, and sounds are excluded rather than included. We can apply this concept to information processing in general.
A great storyboard contains only the information it needs to.
Scannability
The other important feature of a great eLearning storyboard template is its scannability: how quickly can you (or a stakeholder) look through it to get the gist or find something specific that you’re looking for?
Let’s be honest—there are plenty of free storyboard templates out there. (And you’re welcome to try those, too!) But more often than not, their design is just… confusing. Not only do they tend to include too many places for information, but they also tend to have arbitrary layouts for information. A great storyboard layout appreciates the relationship between the chunks of information on the page.
Scannability is especially crucial if you’re not the only one working on the project. A disorganized storyboard format can be unintuitive—even intimidating—to stakeholders who aren’t familiar with a specific format. And as the Aesthetic Usability Effect tells us, when something looks good, people think it works better.
A great storyboard is designed so information is easily accessible.
Adaptability
Not every eLearning course is the same. Some require voiceover, some don’t. Some are multimedia-heavy, some aren’t. You get the idea.
A great storyboard needs to be simple and scannable, but it should also be flexible. You don’t want to waste unnecessary time adjusting your template to the project at hand—or worse, try to cram your content into a format it wasn’t designed for. You need something that you can pick up and run with.
Better yet, a storyboard can even adapt to use cases outside of eLearning, such as video scripting and ILT.
A great storyboard effortlessly adapts to various project requirements.
Anatomy of our eLearning storyboard template
We’ve spent a lot of time and thought on our eLearning storyboard template layout, and at first glance, it might not look like much. But think back to the three qualities. Is it simple? Check. Scannable? Check. Adaptable? Oh, yes indeed.
Here’s a breakdown of what our default storyboard looks like.

When we’re starting an eLearning project, we begin with something that looks a little like this. It’s a simple table with rows and columns.
When we storyboard, we’re intentional about how we use rows. Each row represents a single “chunk,” or unit of information, such as a slide, an interactive component, or a placeholder for a video. This means that each row is usually pretty slim; we prefer to have more rows with fewer content than fewer rows with more content because doing so makes the storyboard more scannable.
In this storyboard, we’ve got columns for a reference number, voiceover, screen text, and production notes. Let’s go through each one.
Reference number column
We like to include reference numbers for each row of content in our storyboards. They allow the instructional designer and any other team members or stakeholders to quickly reference content. Rather than refer to a page number and the content’s placement on the page, storyboard numbers allow for more specific referencing.
When describing various parts of an interaction, we’ll append the number with a series of letters. For instance, a hotspot interaction might span the rows of 3A, 3B, and 3C. The granularity of this approach allows us to easily reference each chunk of information.
Voiceover column
When a course we’re developing includes voiceover, we use this column to craft the final spoken language for the course. Once the storyboard’s finished and the voiceover’s been approved, we simply send the storyboard off to our VO artist, which is helpful for them because it provides context for what they’re speaking to.
We’ve found that it’s helpful to have our written voiceover placed side-by-side with the on-screen text and visual direction. This allows us to consider the juxtaposition between the two, and we can make decisions about whether the script we’re including is necessary or if more is needed. This is especially helpful when considering Richard Meyer’s Principles of Multimedia Learning, which provide specific guidelines for the right balances of audio, text, and images.
By the time we start storyboarding, we’ve already decided that our course is going to include voiceover. But in cases where a course won’t, we can simply delete the column without much hassle. That’s the beauty of the template—it adapts pretty easily to whatever course we’re creating.
Screen text column
In this column, we include the actual language that will be displayed on screen that the learner will read. Having all of our instructional content in one column of the storyboard allows us to focus on the quality of our content without getting too distracted by how that information will be presented. Same goes for our stakeholders, too.
Production notes column
This last column provides a space for notes related to the production of the course. Here, we’ll include any preliminary ideas for images or other media we’ll want to add. If we’re developing the course with an authoring tool, this is also where we’ll make a note about which component we’re considering for the chunk of content. And for courses where citations are important, we can include links to source material in this column, too.
Tools we recommend
Chances are, you’ve got your word processor of choice. At Maestro, we prefer Google Docs for a number of reasons:
- Easy online collaboration makes sharing and feedback with internal teams and stakeholders really easy
- Documents are automatically saved to the cloud, so we never worry about a document being lost or outdated
- It has built-in version control functionality, so we know everyone’s working off the same, up-to-date storyboard
- The template gallery allows us to save commonly used modifications to our storyboard
But you’re free to use whatever word processor you like. Because of the simplicity of our eLearning storyboard template, you should be able to recreate it in your preferred program. If you find yourself needing to include a lot of different types of information, you might even consider using a spreadsheet—though we wouldn’t necessarily recommend that.
Tips for soliciting feedback on your storyboard
If others are involved in developing the courses you create, you’re probably used to receiving feedback on your work. The storyboard is a great opportunity to receive feedback, because this is the time for you to lock in the instructional content and your preliminary ideas for visual presentation. Getting quality feedback now will save you headaches later on.
Yes, quality feedback. Here are some tips for making sure you’re setting yourself up to receive the most helpful feedback possible.
Include a cover page
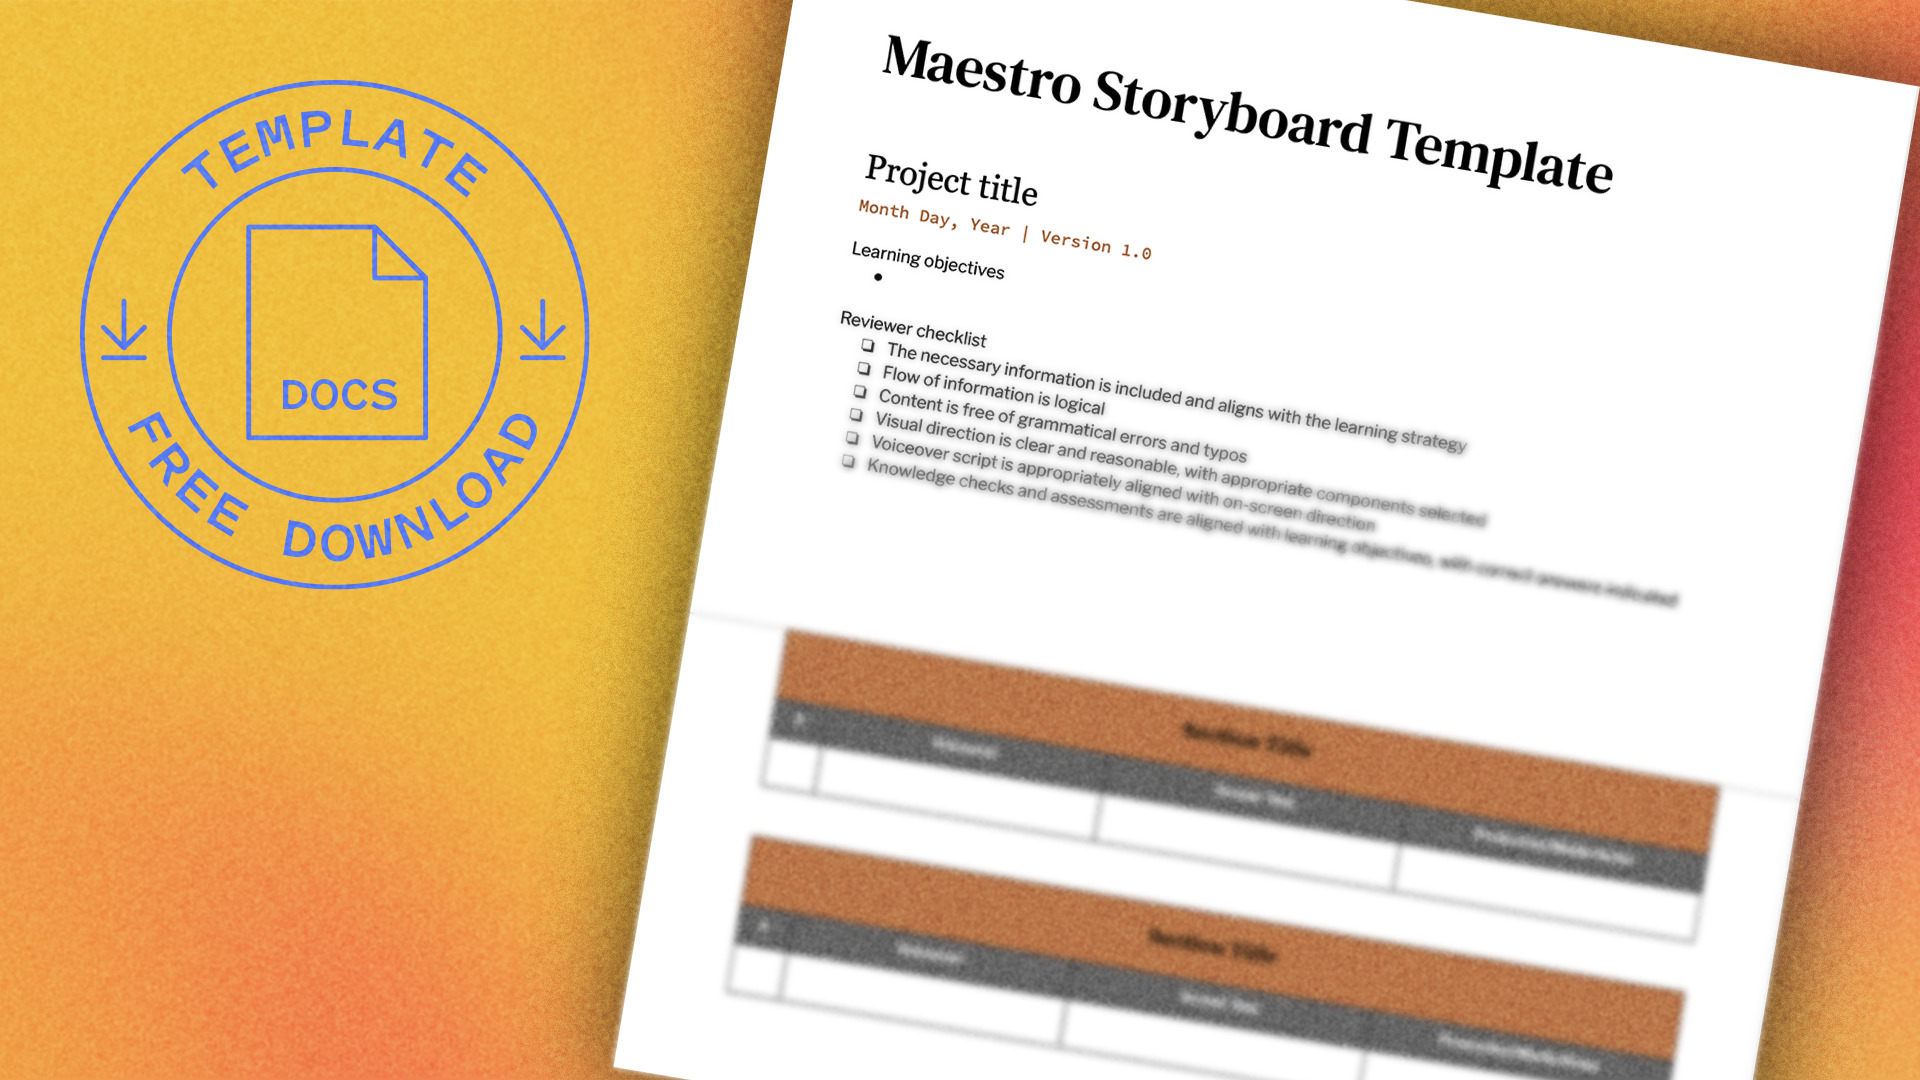
We like to include a cover page with our storyboards, where we list out some of the context-setting information (course title, version number—things like that) along with some expectations for anyone reviewing the storyboard. Here, you can be clear about what kind of feedback you’d like to receive.
Consider a reviewer checklist
Need to be more specific about what feedback you’re looking for? Think about including a checklist that calls these things out. This could include checks for brand voice, grammar, accuracy, and alignment.
Appoint a feedback leader
We’ve all experienced the “too many cooks in the kitchen” phenomenon. Combat this phenomenon by incorporating consolidated feedback into your review process. If your work has to pass through multiple teams, ask that only one person from each team provide their team’s feedback. This will prevent unnecessary back-and-forth within your storyboard and make your reviewers’ feedback more actionable.
Get all these extras in our free storyboard template download!
Download Maestro’s eLearning storyboard template and get started on streamlining your course development.
P.S. We also put together a few other resources for you and your team! Check out our checklist on how to select great stock photography for your learning, and the SME interview guide you need when you’re thinking about how to put users first—it’s in our post on training with heart: 3 strategies on how to build user empathy.