

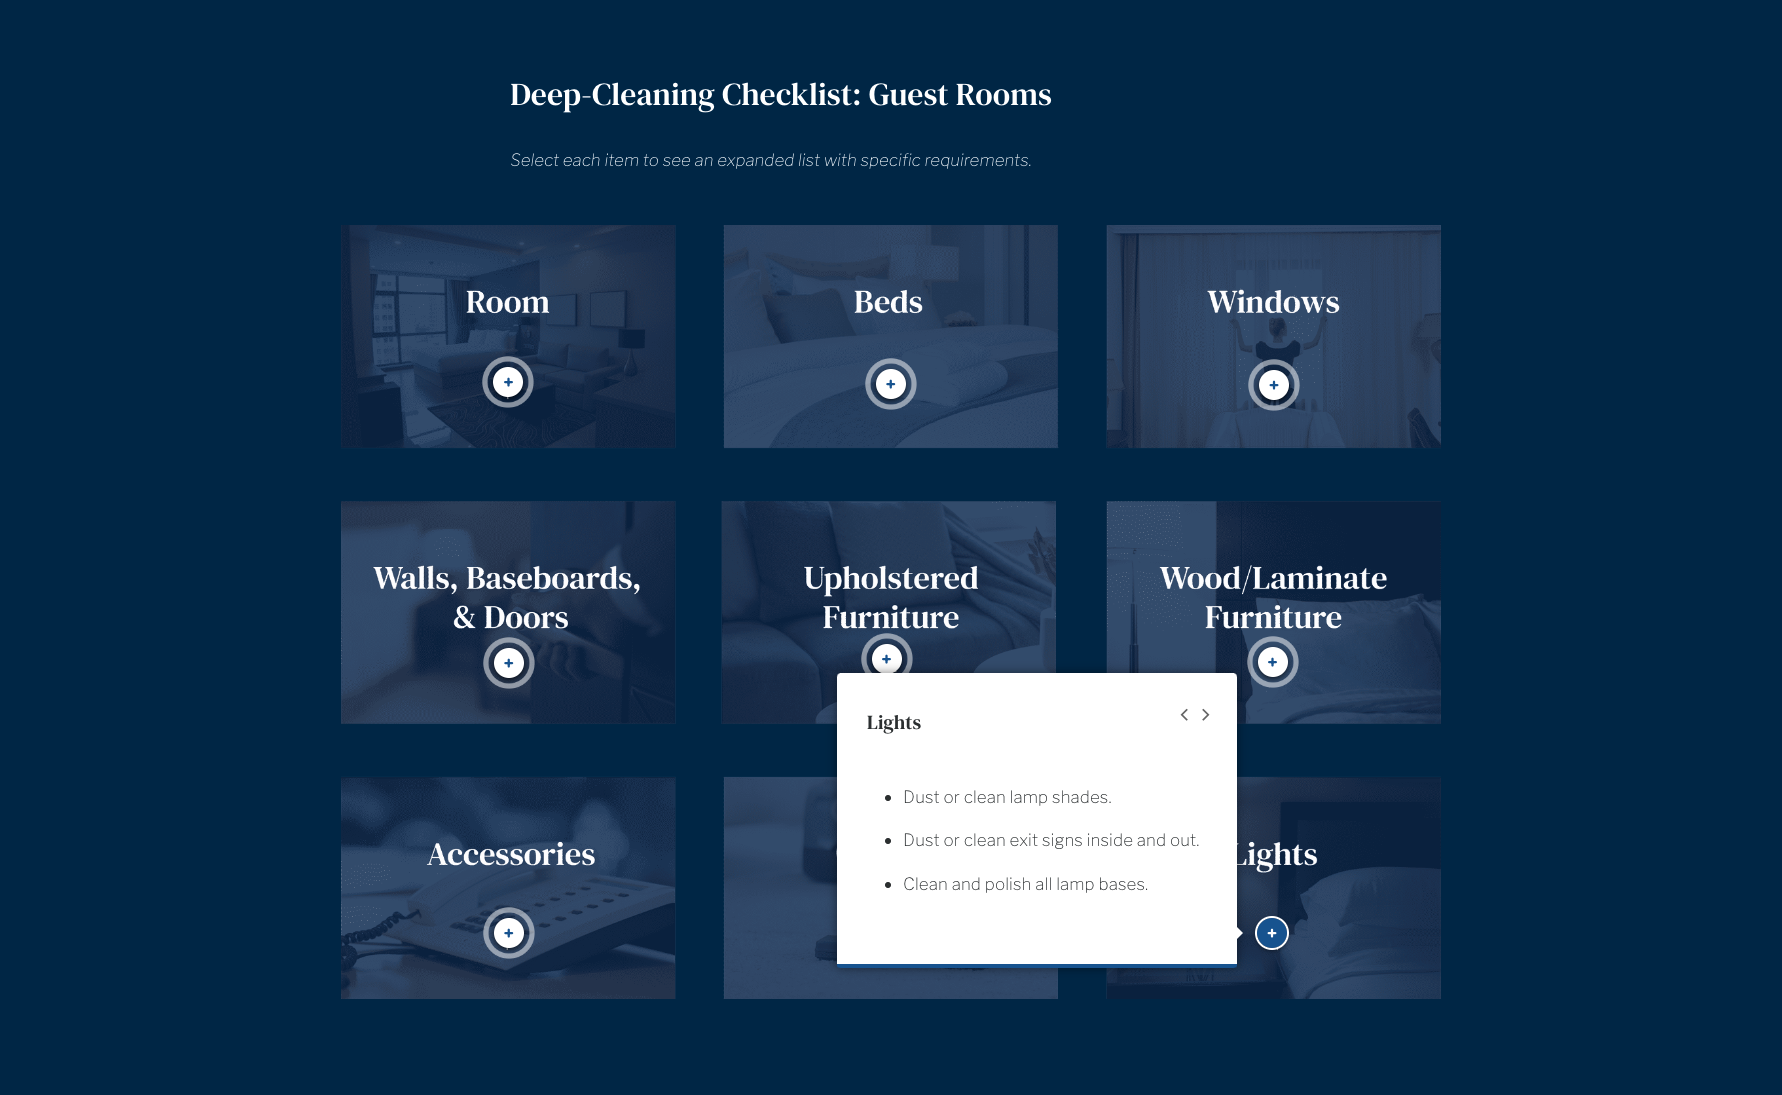
If you’re a fan of Articulate Rise 360 tutorials, look no further. Most interactive designers already know and love labeled graphics in Articulate Rise. Labeled graphics let learners interact with and explore different aspects of an image through hotspots that denote points of interest.
Although hotspots are often organically placed within labeled graphics, we’ve found that in many situations, a structured placement of hotspots better suits the content—like spacing the hotspots at an equal distance, in a straight line, or on a grid. You might opt for a structured approach when you’re dealing with content such as flow charts, organizational diagrams, or equation call-outs. But how exactly do you position hotspots in a precise and structured manner in Articulate Rise?
It’s not as complicated as you might think, and the results are definitely worth the extra effort. From our bank of Articulate Rise 360 tutorials, here’s a quick video showing you exactly how to do it.
How to precisely place hotspots in Articulate Rise
Watch the process we use when creating a Rise 360 labeled graphic in which all the hotspots are positioned in a precise and structured manner. Usually, this means placing them in a straight line or on a grid, as well as controlling the spacing between each of the elements.
Here is our process, including a couple of tricks in Adobe Illustrator to make structured placement much simpler (this is the secret sauce!).
Learning works best when beautifully designed
As you’ve now learned, it only takes a bit of extra effort to achieve precisely placed hotspots. We believe that going the extra mile is always worth it, especially when it means designing the best possible experience for learners.
A learning creator's secret weapon
Do you love designing in Articulate Rise? Do you want a tool that would help you do even more in Rise? Meet Mighty, a powerful little Google Chrome extension designed by Rise users, for Rise users. Mighty’s exclusive features and functionality mean that you can finally ditch the hacks, tips, and tricks—Mighty does it all for you. Want to discover what’s possible with Mighty? Start your free trial now!
Learn more and sign up→However, before you start placing hotspots in every section of your eLearning course, remember that labeled graphics are special elements used for a specific purpose in learning design. They invite the learner to “lean in” and take some extra time to investigate the material. If overused, hotspots can become tedious and even disengaging, so be sure to use them strategically. Your learning objective should always inform the learning activity or component you select.
At Maestro, we sweat the details because we know that usability, intuitiveness, and beautiful design contribute to the overall effectiveness of the learning experience. If you share our belief that well-designed experiences resonate better, share this quick Articulate Rise 360 tutorial with a learning designer in your life and keep the great learning going.
Want more tips and tricks from our design team?
Check out this on-demand webinar, in which two of our learning designers walk you through our approach to strategically designing eLearning in Articulate Rise.
Design with us!→